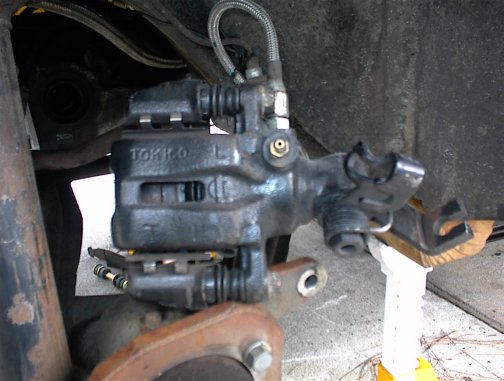
| Bolt up the caliper
Strongly suggest
braided lines. If you do not have or will not install braided lines, you
will have to figure out how get the brake line connected to the caliper
since the original lines were long gone from my car when I did the
conversion
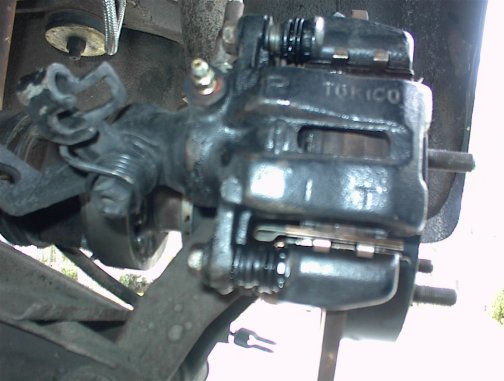
Picture C is of the
driver's side caliper installed. This shot was taken from the font of the
car looking up slightly. Note that the caliper is marked "R"
next to "Tokico". Also note that the E-brake is not connected
If you look below
the caliper you will see the original E-brake cable. It actually fits
nicely on the E-brake braket on the caliper but some some of clevis is
need to finish it off. I have been threatening to do this for sometime but
E-brakes are not really a priority in Orlando and by habit I also leave my
car in gear. |